Before you begin, make sure that your gateway is configured according to Secondary Gateway mapping .
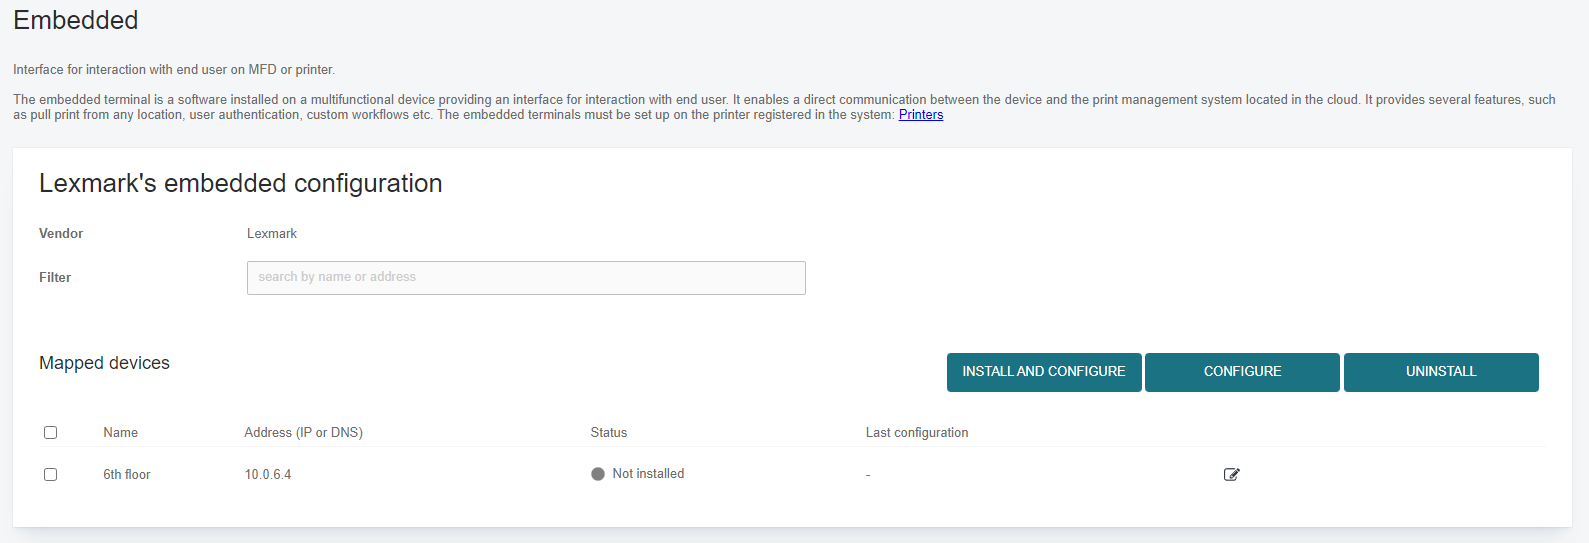
After setting up the printer on the network and configuring in PMC, push out the Embedded configuration from embedded screen found in PMC Web UI Printers > Embedded templates tab and clicking deployment action icon.
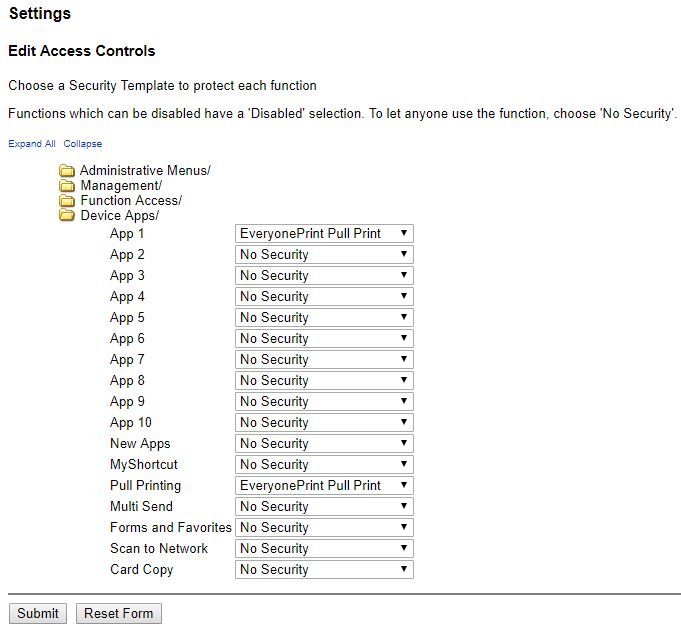
On some models you need to do a change in “Access Control” for setting the security on the MFD right.
Open MFD´s Web-interface in a browser and navigate through “Settings”, “Security”, “Security Setup”, “Access Controls”.
Expand “Device Apps” and set “Pull Printing” to “Ricoh Pull Print” and hit “Submit”.
On some models you need to do a change in “Security Templates” for setting the security on the MFD right.
Open MFD´s Web-interface in a browser and navigate through “Settings”, “Security”, “Security Setup” and “Security Template”.
Choose “Add a Security Template” and follow the guide to make all four Templates below.

Here you see the configuration for the four Templates.

Security and Access Control on eFS6 models
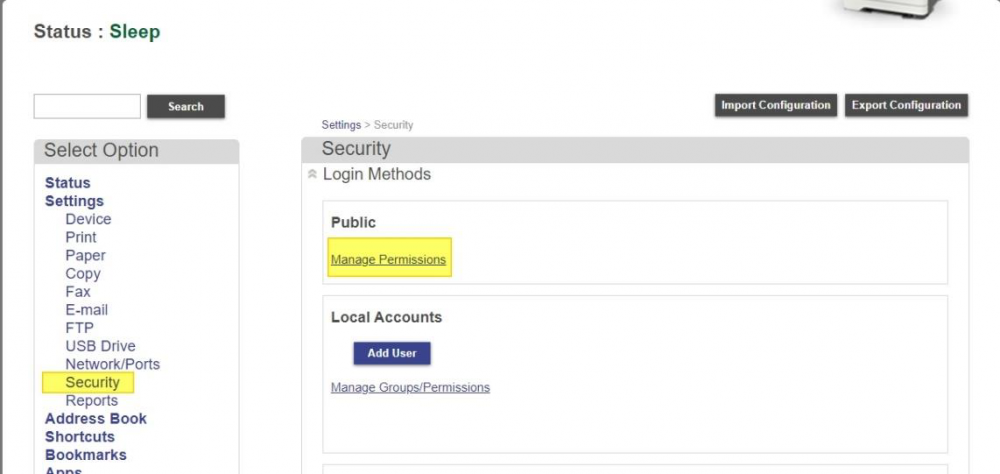
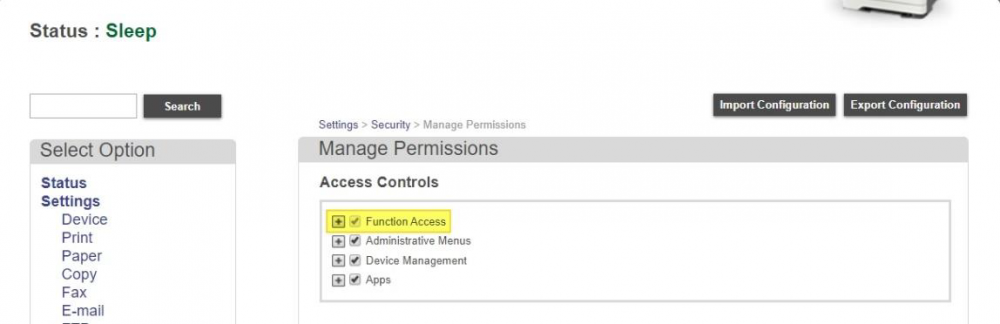
Logon to the device and select Security and Manage Permissions
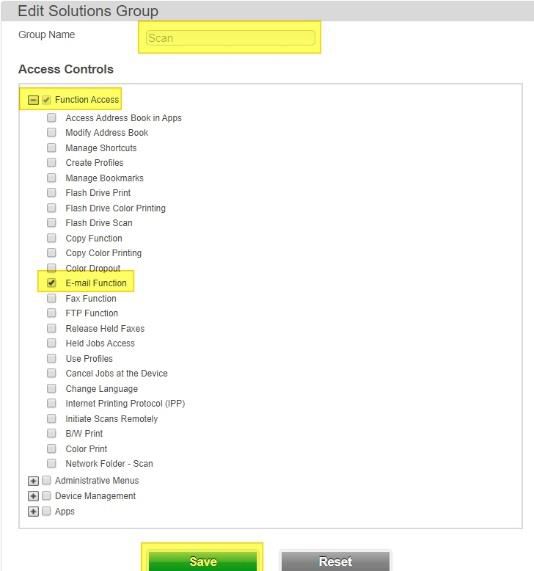
Select Function Access
Deselect Copy Functions, Color Copier Printing and E-mail functions.

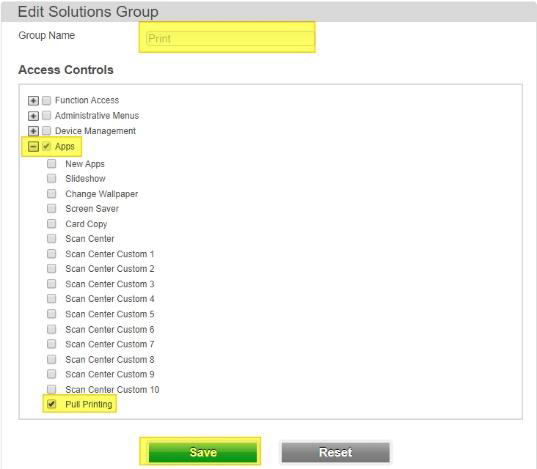
In Apps deselect Pull Printing

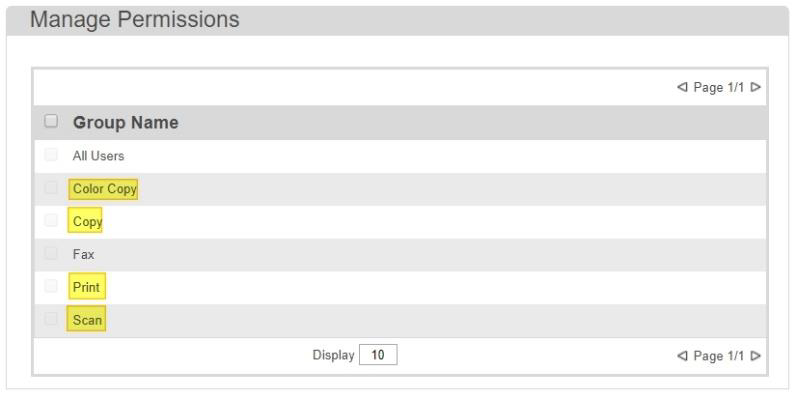
After selecting Save then go to Security and select Manage Permission, located right of the Ricoh Server Authentication
Here you need to modify, if required, the authentication for: Color Copy, Copy, Print and Scan
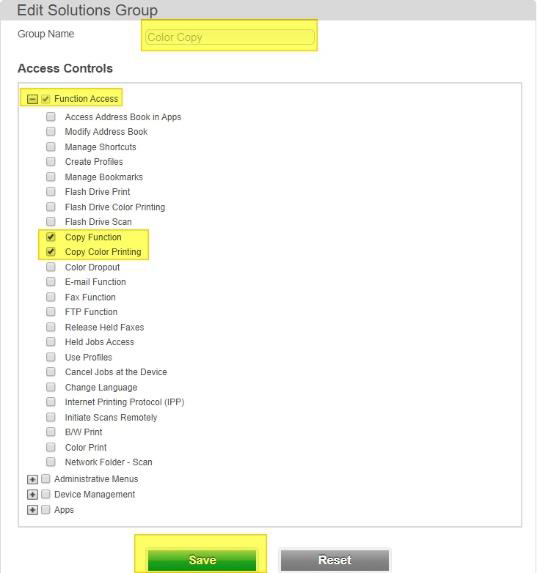
For the Color Copy, select Copy Function and Color copy Printing under Function Access and select Save
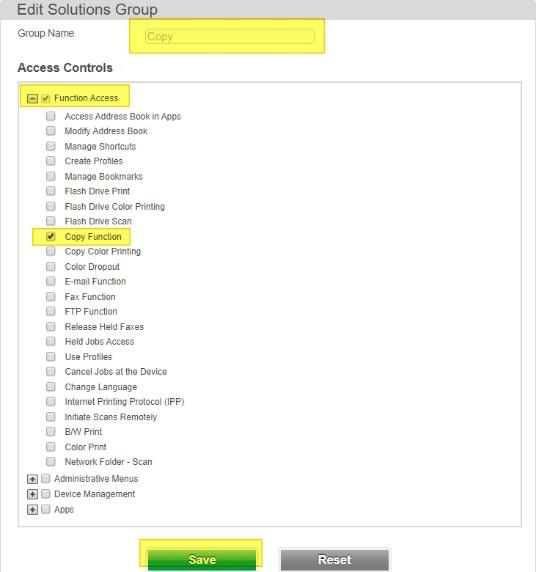
For the Copy, select Copy Function under Function Access and select Save
For the Scan, select E-mail Function under Function Access and select Save
For the Print, select Pull printing under Apps and select Save