You can install the terminal in the following ways:
-
From PMC Web UI
-
From Ricoh Application Site
-
Manually via the Terminal Deployment Tool
Installing the terminal from PMC Web UI
Prerequisites
-
This installation method requires you to have PMC secondary server (Gateway) in your network. The terminal can only be installed from the secondary gateway because of network visibility to the MFD.
-
Your secondary server has the Terminal client service created, and the service has Cloud terminal integration enabled.
-
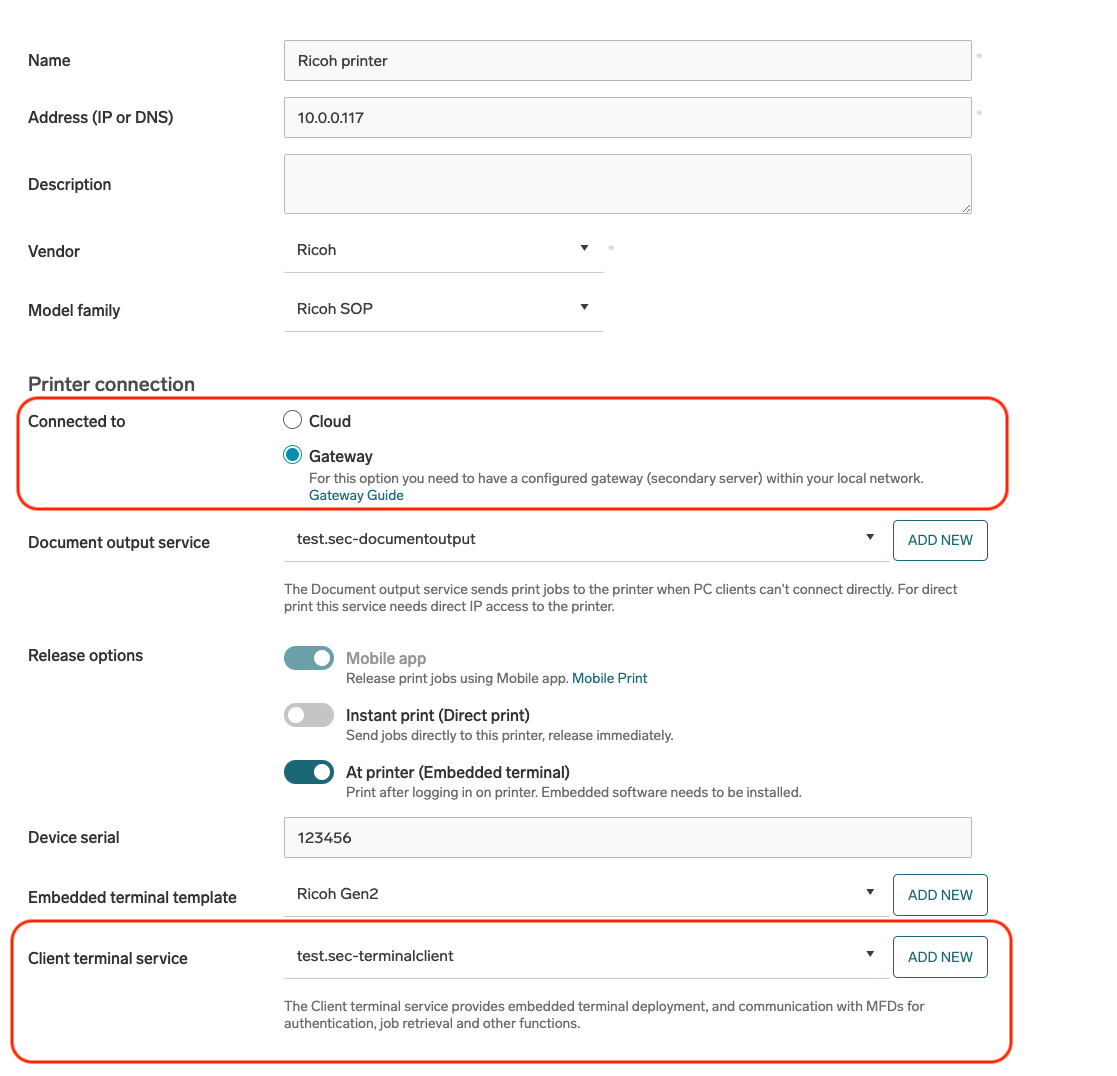
You have already created Ricoh embedded configuration and added your Ricoh MFD according to Adding Embedded configuration and Ricoh MFD in PMC Web UI. When adding the MFD, in the Client Terminal Services and Service drop-down menus, you must select services running on your secondary server.
-
In your embedded configuration, the API key for installation field must not be empty.
Limitations
-
Terminal installation status messages are not localized
-
If the terminal configuration fails, you must click Configure to run it again.
-
The installation implicitly trusts any device specified in the printer address field. Make sure you are installing only in case you are aware of what device is on that IP address. To prevent MFD admin credentials and API Key leakage, make sure that you know which device is on the specified IP address before you run the installation.
-
If you want to upgrade to the Ricoh Cloud Terminal from the Ricoh Embedded with Application Type Standard, or any other kind of Ricoh terminal, you must first uninstall the old terminal so that you can run a clean installation of the Cloud Terminal.
Installation
-
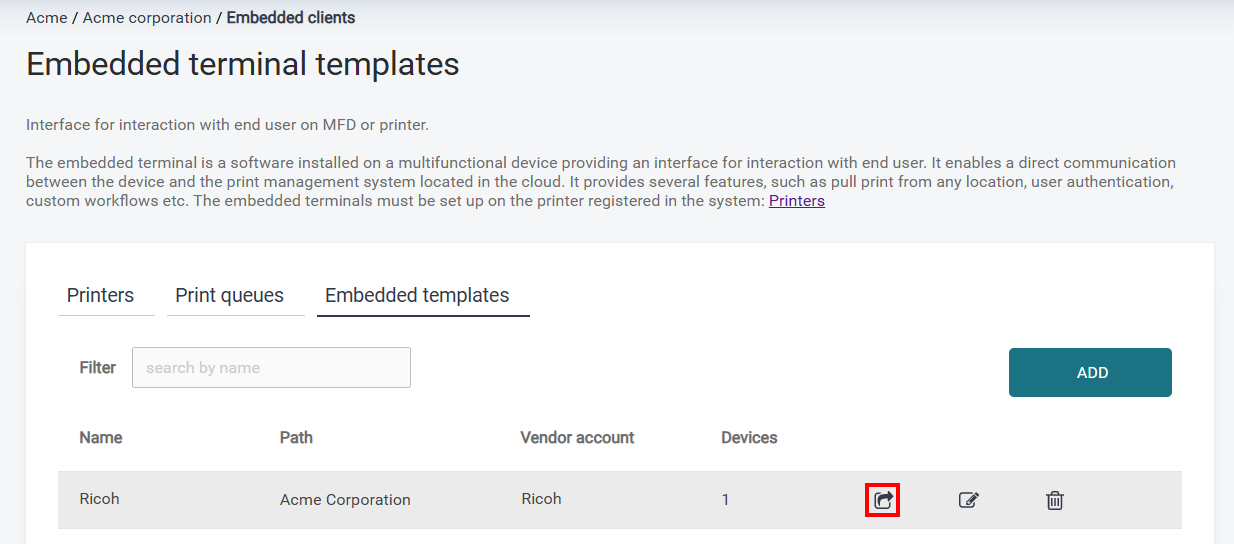
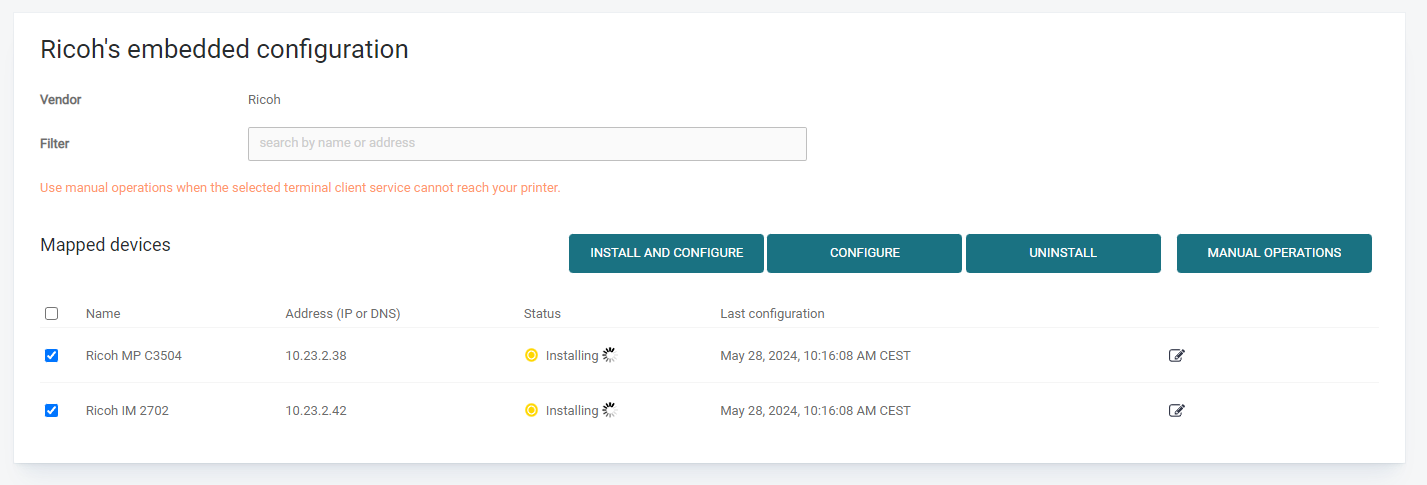
Go to Printers > Embedded templates and click the icon next to your Ricoh embedded configuration to open the configuration.
-
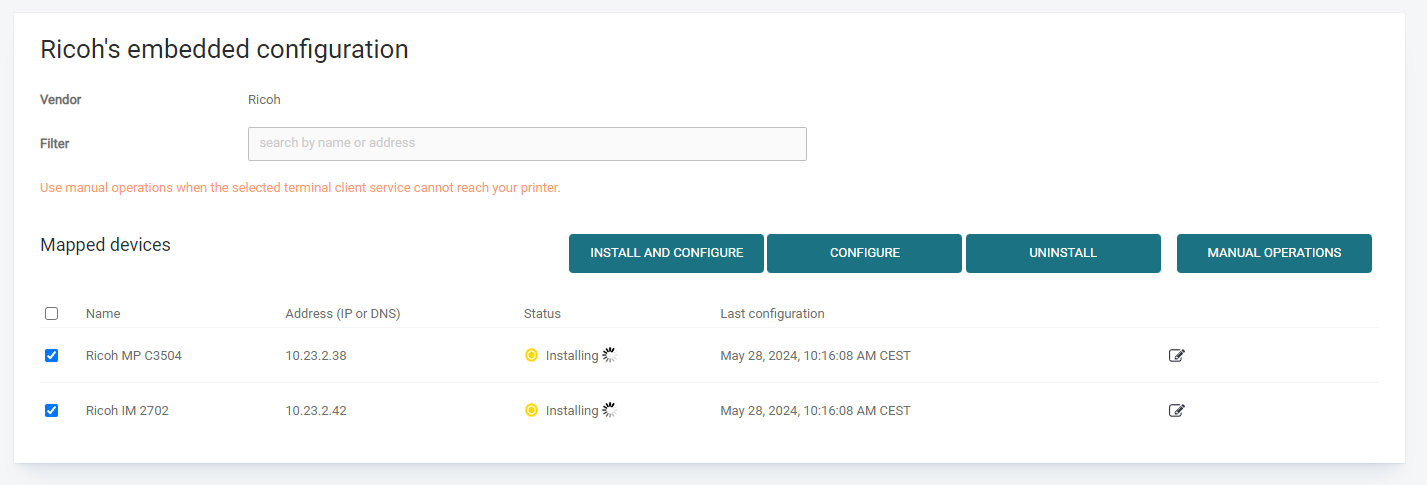
Select all MFDs where you want to install the Cloud Terminal.
-
Click Install and configure. The status will change to Installing.
-
When the installation finishes, the status will change to Installed.
-
If you see the error message "Failed to configure SP options" or "Failed to configure card reader. Please refer to documentation for manual configuration," you must configure the MFD manually. See Post-installation device setup.
Terminal-to-server communication
By default, the installed Cloud terminal communicates with the server specified in the Client Terminal Services field. To configure this, go to the Printers page > Printers tab, edit a printer, and navigate to the General setup tab in the PMC Web UI.
Installing Ricoh Cloud Terminal from Ricoh Application Site
Please note that this application needs to be installed by Ricoh or a partner technician.
-
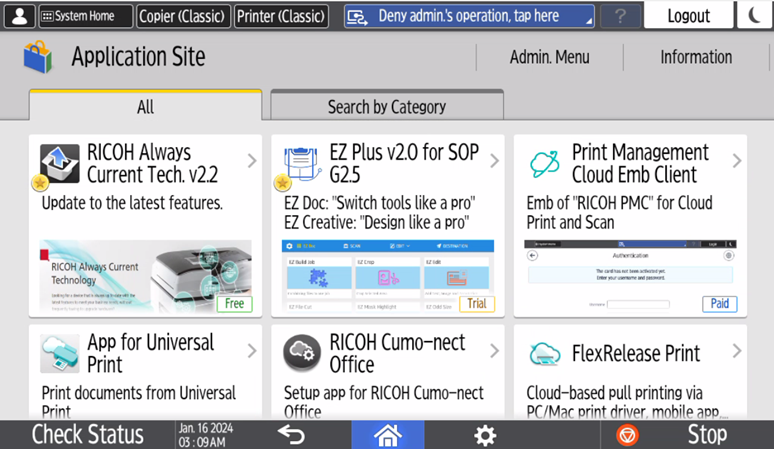
At the MFD, navigate to the Ricoh Application Site.
-
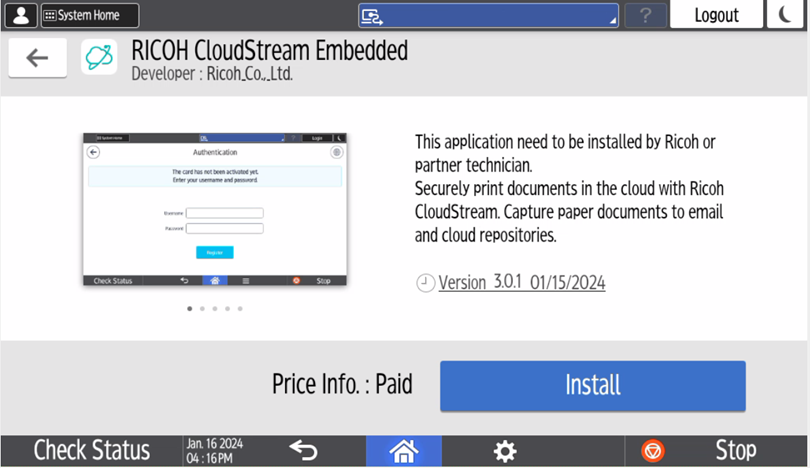
Select Ricoh Print Management Cloud application.
-
Tap Install.
-
After the installation, please make sure device settings are set according to the Initial device setup.
-
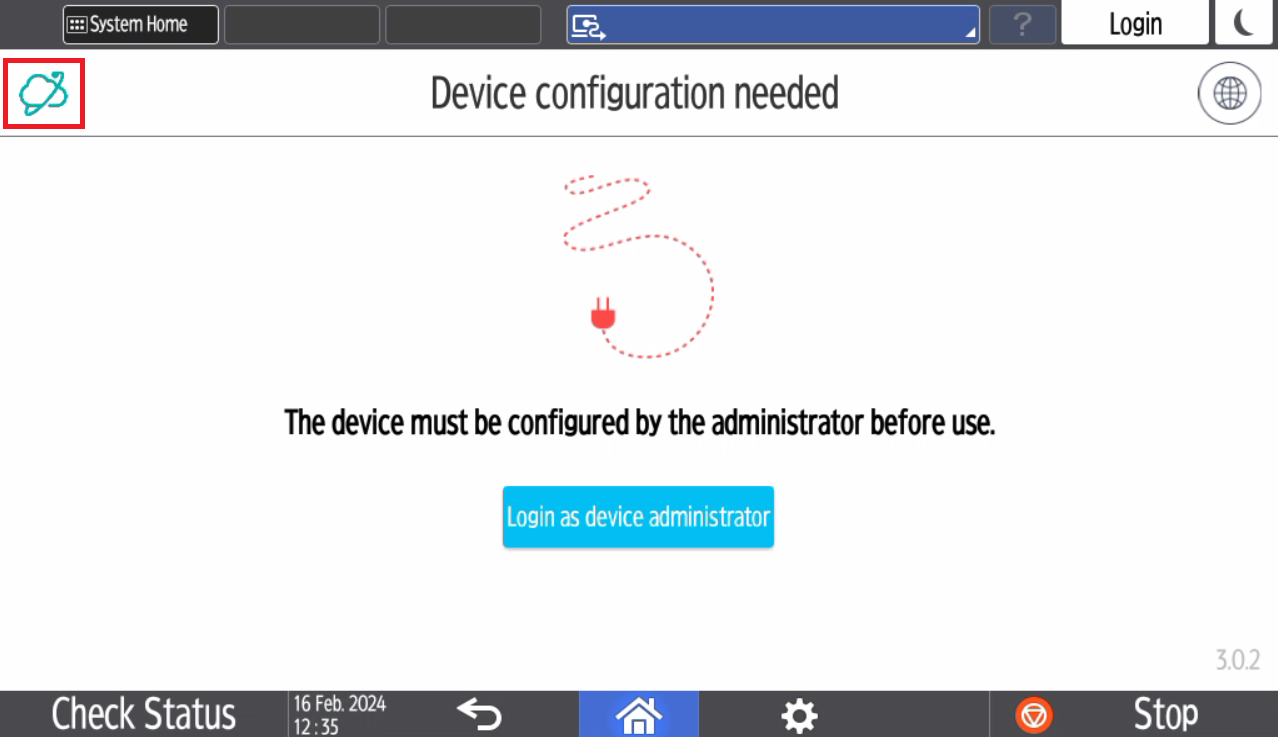
The terminal is ready for configuration. Tap the icon in top left corner and hold for 5 seconds.
-
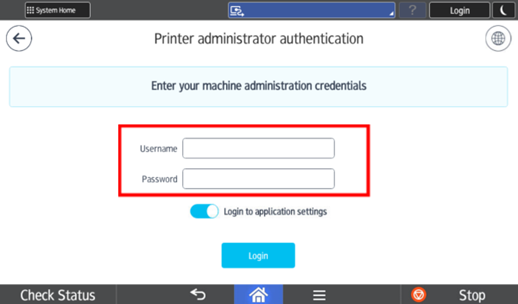
Enter the device administrator credentials.
-
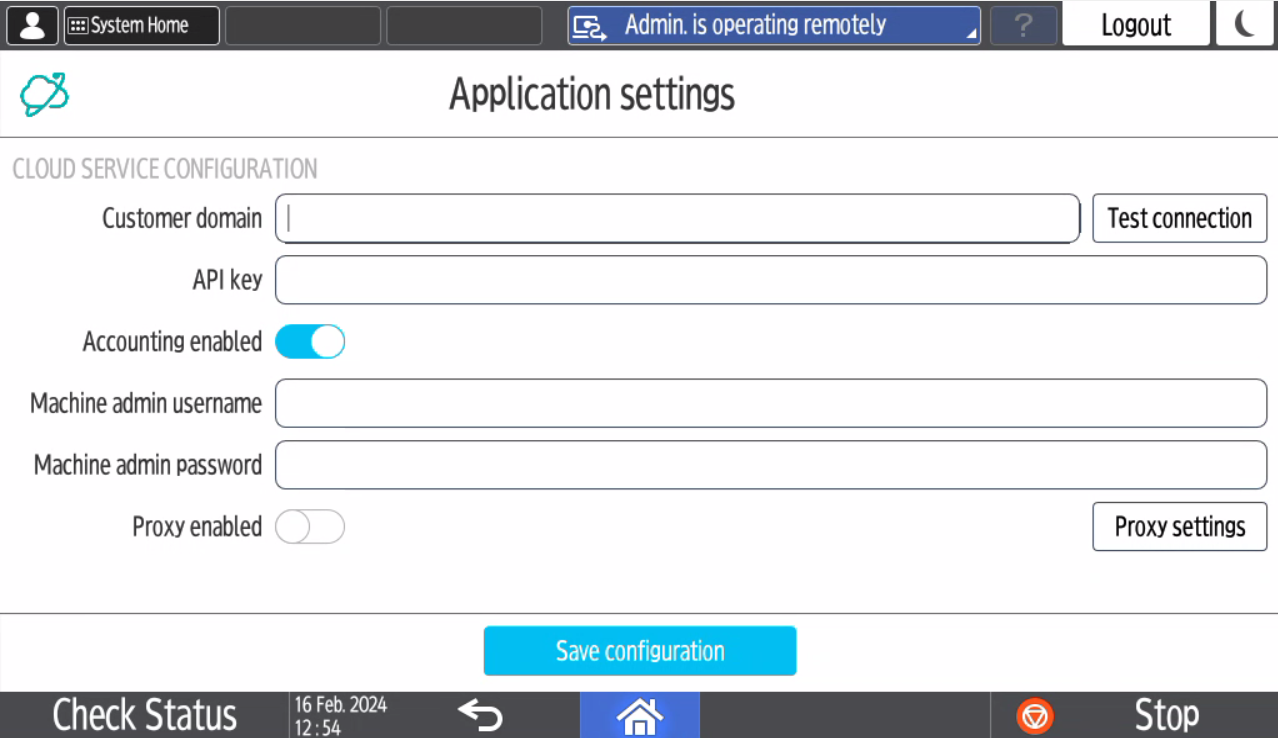
Enter customer domain and API key.
-
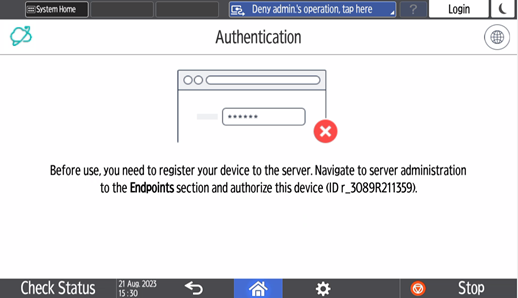
The device is now ready to be authorized.
-
Proceed to registering the Cloud Terminal in the PMC Web UI. This is described on the Registering the Cloud Terminal in the PMC Web UI page.
Configuring auto update in Ricoh Application Site
-
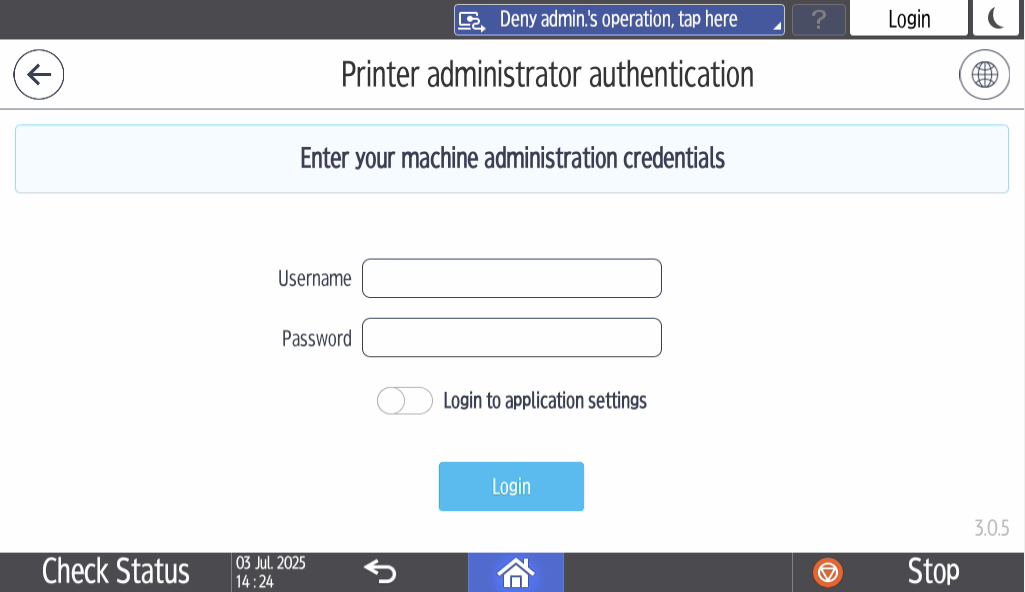
Hold down logo in the upper left corner for 5 seconds.
-
Login as machine administrator.
-
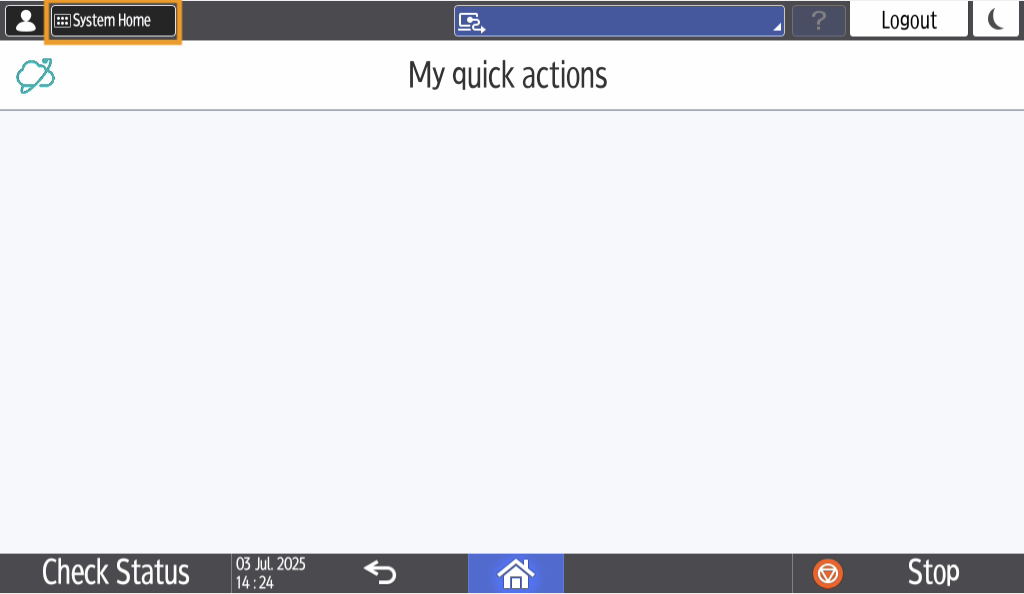
Go to the system Home screen.
-
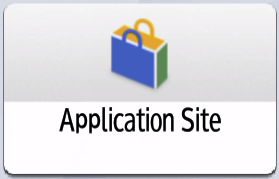
Open Application Site.
-
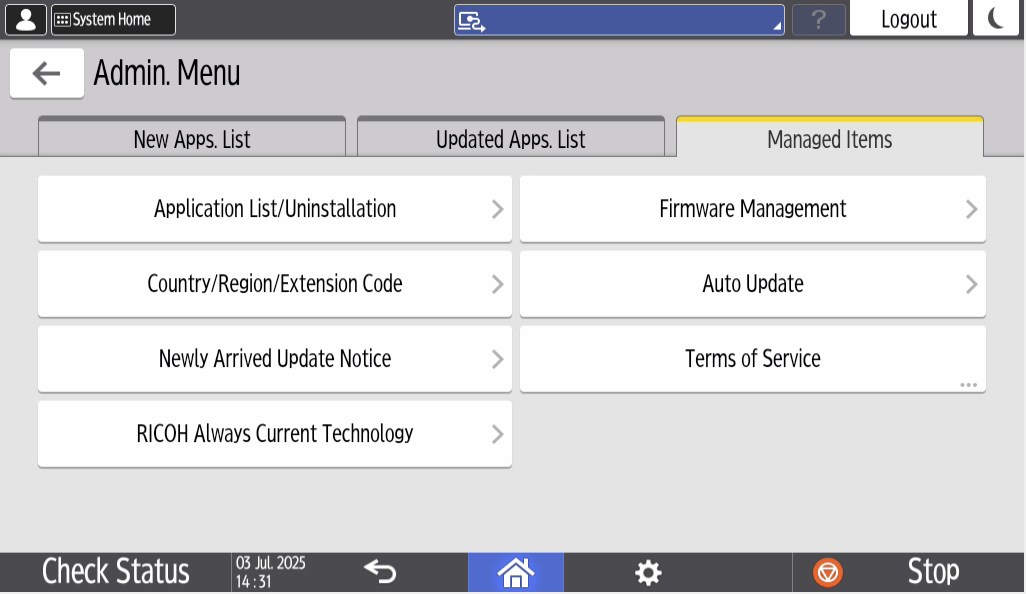
Open Admin. Menu.

-
Go to Managed Items tab and select Auto Update.
-
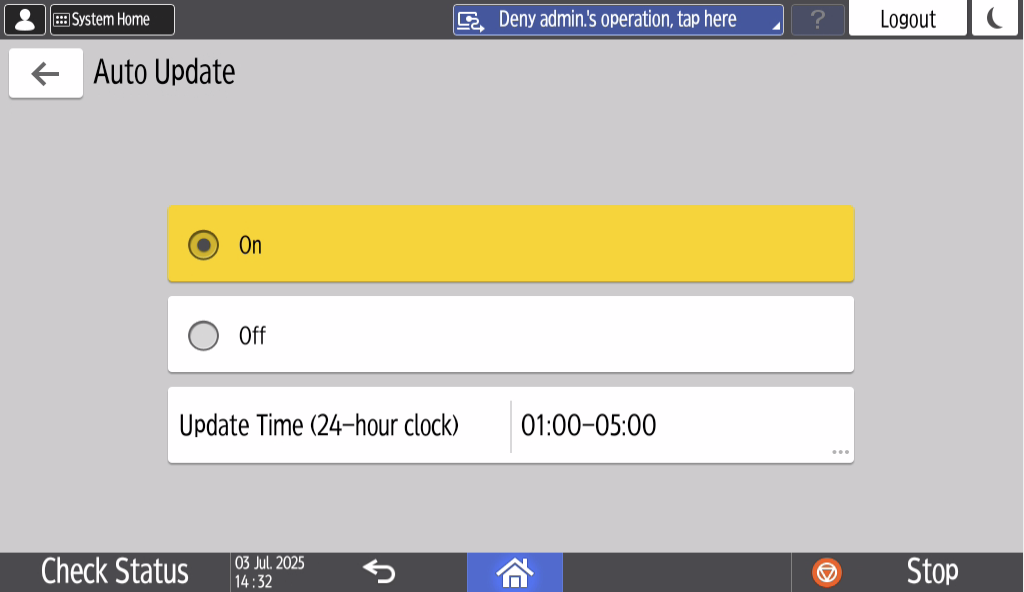
Configure the Auto Update according to your needs.
Updating Ricoh Cloud Terminal through Ricoh Application Site manually
-
Hold down logo in the upper left corner for 5 seconds.
-
Login as machine administrator.

-
Go to the system Home screen.

-
Open Application Site.

-
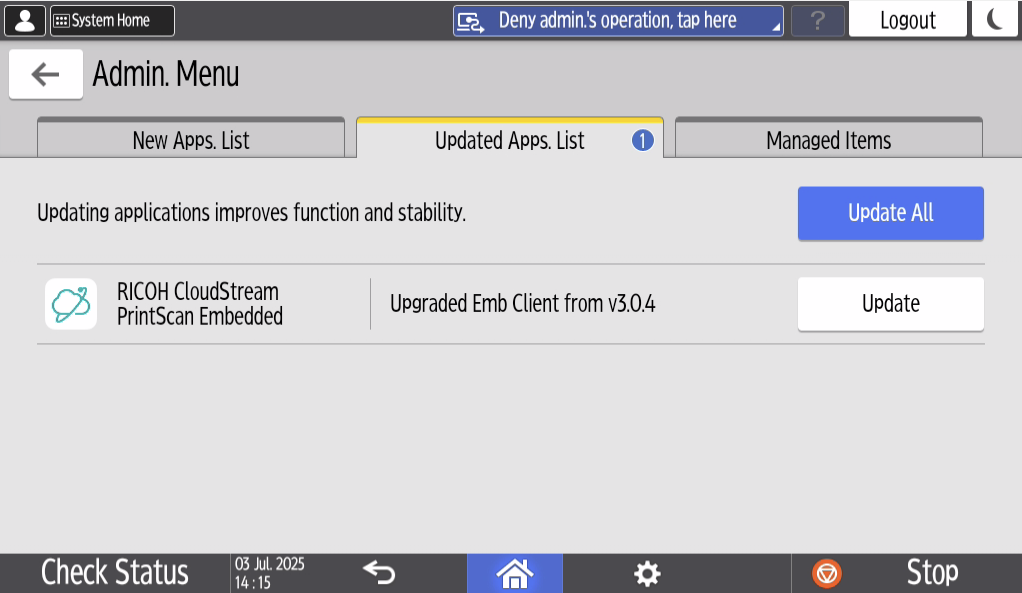
Open Admin. Menu

-
Select update
-
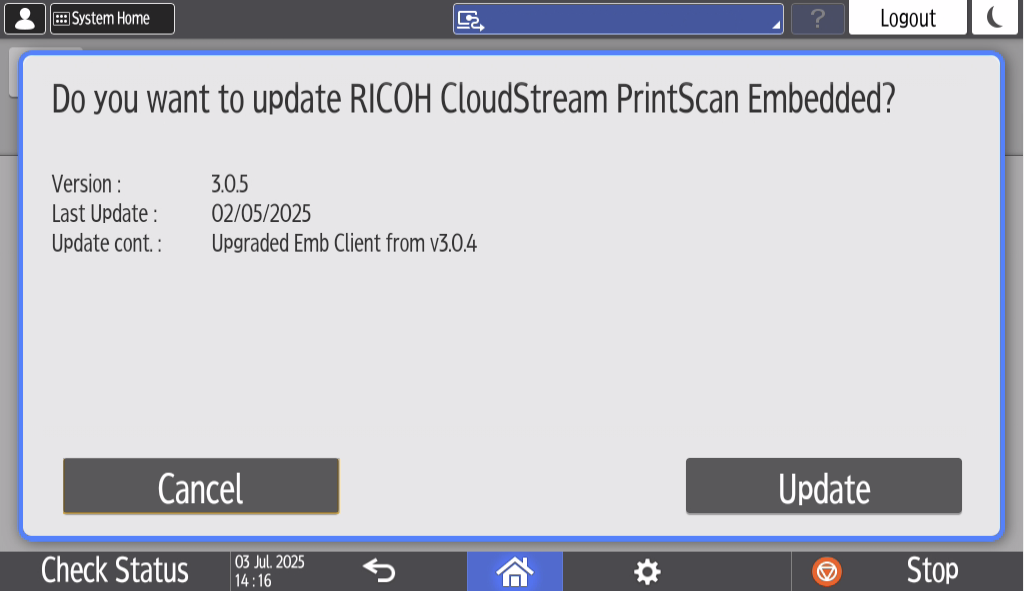
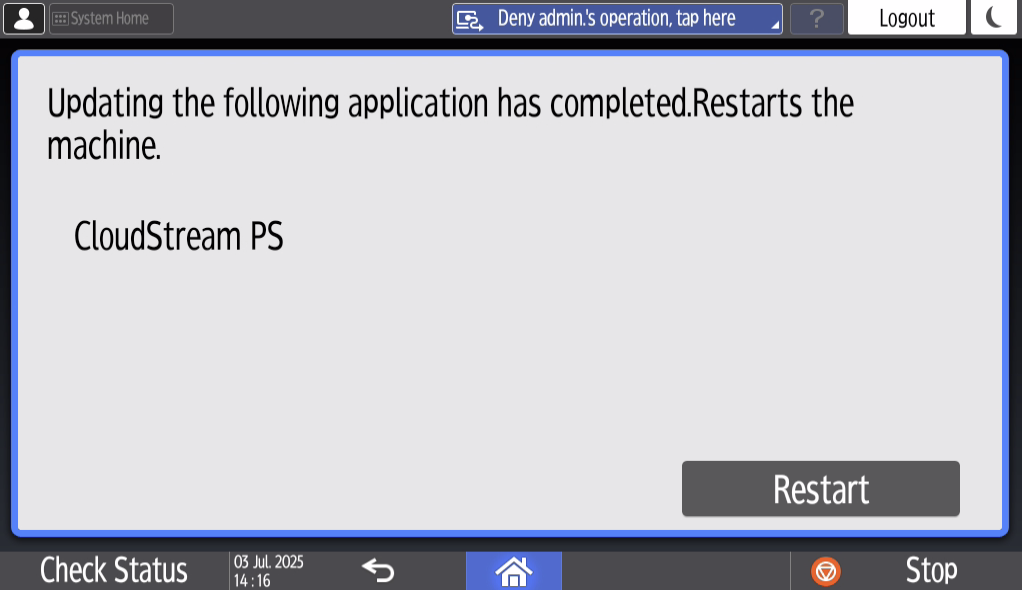
Confirm the update
-
Confirm the restart
Manual installation via the Terminal Deployment Tool
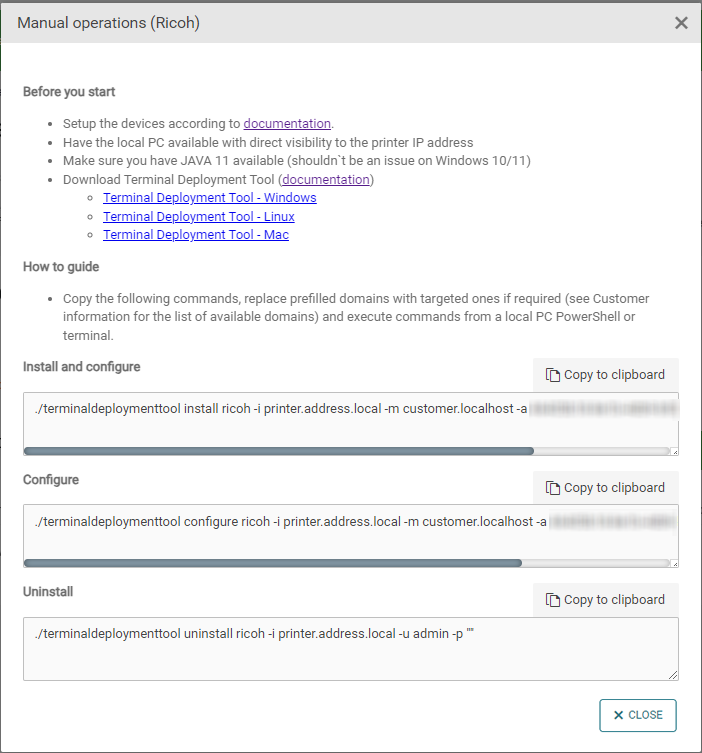
Following these steps will give you the option to download the Terminal Deployment Tool from PMC Web UI and it will generate the installation command for you.
-
Go to PMC Web UI. Create your Ricoh Embedded configuration and add your Ricoh MFD according to page Adding Embedded configuration and Ricoh MFD in PMC Web UI.
-
Go to Printers > Embedded templates and click the icon next to your Ricoh embedded configuration to open the configuration.

-
Click Manual operations.
-
A new modal window will appear. Follow the instructions.
-
After the installation, proceed to registering the Cloud Terminal in the PMC Web UI. This is described on the Registering the Cloud Terminal in the PMC Web UI page.
