The Xerox Remote Logger tool can be found bundled as part of Terminal Deployment Tool in the <your deployment tool location>\tools folder. Its primary purpose is to supplement missing device logs on Xerox devices in cases where debugging is needed to determine the root cause.
Gathering logs
Direct network visibility must exist between the computer running the Xerox Remote Logger tool and the device on which Xerox Gen 2 Cloud Terminal is running. Port 5079 is used for communication.
1. Set up Remote Logger Tool
Depending on your OS and settings, you might need to adjust the binary's execution rights using the chmod +x command.
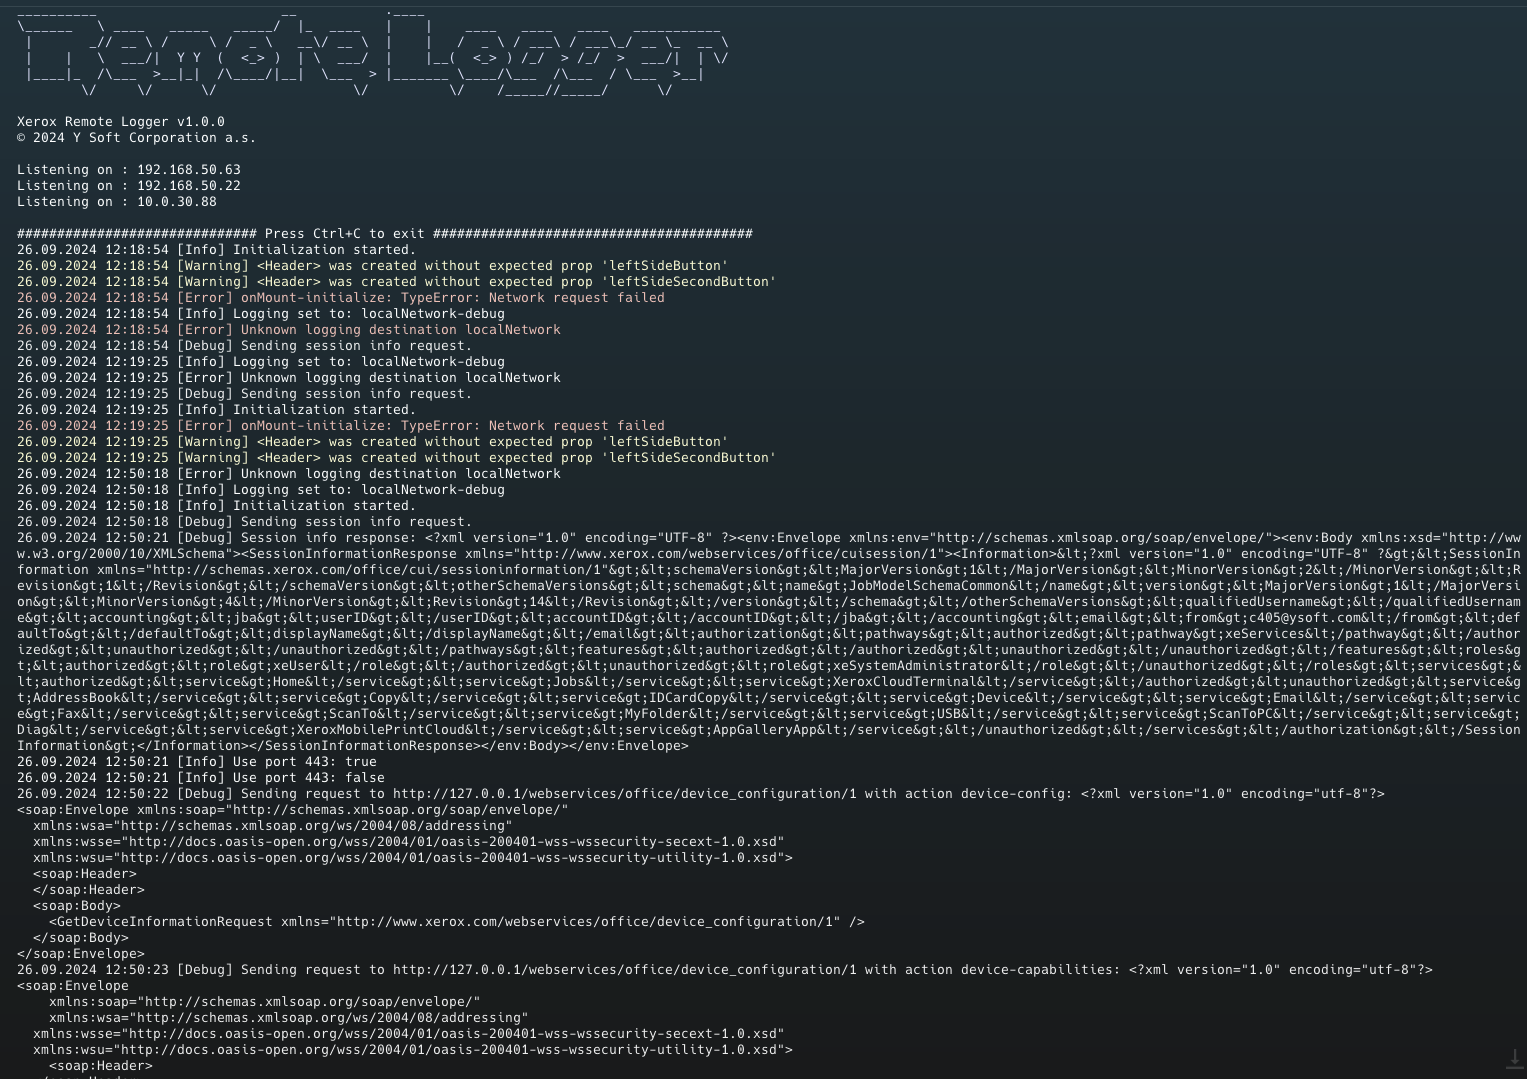
Run the remote-logger-tool binary (e.g., by running ./xerox-remote-logger-osx). If the tool starts correctly, you will see the list of IP addresses on which it can accept incoming communication:

For further steps, use the IP address visible from the MFD.
2. Set up the device running Cloud Terminal
The following settings are persisted, meaning that once set, they will remain set even after restarting the device, etc. As there is a slight performance impact on the terminal, disable the remote logging once finished.
-
On the MFD, use the native login menu to log in as a Machine Administrator, and press Reset All Apps.
-
Open Cloud Terminal.
-
Hold your finger on the logo in the upper left corner of the screen for about 5 seconds.
-
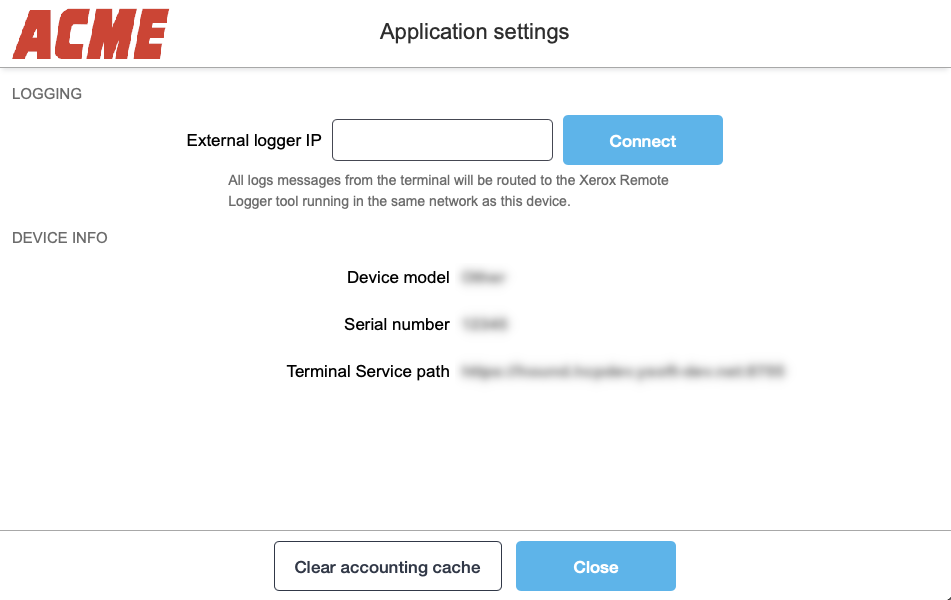
If you logged in as a Machine Administrator in the first step, you will see the following screen:

-
Fill in the IP address on which your Xerox Remote Logger tool is running and press Connect.
-
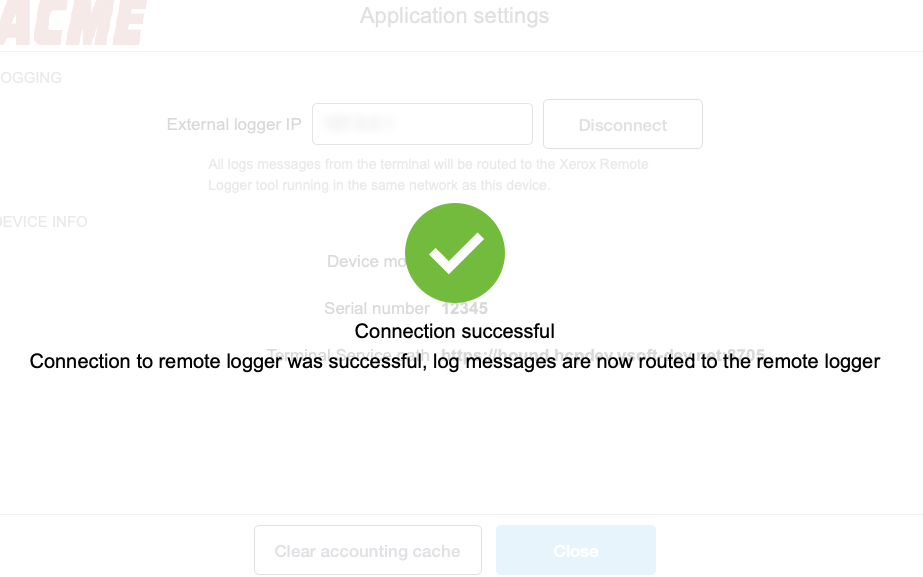
After the connection is established, the confirmation screen is displayed:

3. Gather logs
All logs should now be routed to your Xerox Remote Logger instance. You will be able to see the log messages as they come.

All logs are also stored in the <your deployment tool location>\tools\machine-log.log file. Share this output with our support when raising an incident.
